Feed Shark When I Grow Up: May 2010

28 May 2010

I dare you

All of you who fancy yourselves as photographers, I dare you to take the "Old School Photography Challenge" as laid out by Scott Kelby . . .

http://www.scottkelby.com/blog/2010/archives/10502

Here's the basics from Scott's blog:


(1) You have to turn off, or black out the LCD monitor on the back of your camera. You can’t see the shots after you take them.
(2) You can only shoot 24 or 36 shots total (more on that in a minute).
(3) You can’t import the photos or even look at them until 24 hours AFTER you shoot them.
(4) You have to make a print (we didn’t always have computer screens to display our work. If we wanted to see it, we made a print. It was the moment when your image became “real.”) If you have your own printer, make a good sized print. If you don’t, and you live in the U.S., go to MPIX.com, set up an account (it takes all of 90 seconds), and upload your best image from your roll of 24 or 36. Choose a 16×20″ print on E-Surface paper. You’re gonna love the way they print your image.
If by some miracle, you just don’t like the printing job MPIX did (I’m not talking about the quality of your photo, but of the printing itself), then send me an email at skelby@photoshopuser.com with MPIX Print in the subject line, and I will refund the cost of the 16×20″ print myself (that’s right—not MPIX. Me!).
Of course, I wouldn’t offer this if I wasn’t darn sure you’re going to love your print, and making a print, or having a print made, is a crucial part of this process (by the way—-my refund offer is only good for new customers. If you’re already an MPIX customer, you know this stuff is good, or you still wouldn’t be a customer, right? Right!).
If you live outside the U.S., send your best image to a local photo lab, but don’t just get a regular-sized print. Get a large print (at least 11×14 size) but hopefully larger. You’ll be glad you did.
(5) Film wasn’t free back then. Processing cost even more. But you don’t have to buy film. I’ve got a better idea: We checked, and to by a roll of 24 400 ISO film, and have it processed at WalMart (cheap!) is $9.88, or around $13 for a roll of 36 (NOTE: Weird technicality; apparently, this roll of 24 actually lets you shoot 27 images total, so you can shoot 27 if you feel you need to).
Now, since you don’t actually have to buy film or processing, what I’m hoping is that you’ll follow this link, which leads you to a page where you can donate what it would have cost you for film and processing to the Springs of Hope Orphanage in Kenya (the same one you guys, the readers of this blog, help build from an empty plot of land, into a wonderful up and running orphanage that houses, feeds, and cares for some very special kids).
I’m using this to help raise just over $9, 700 and some change so the orphanage can buy an adjacent piece of land, which they want to convert into a farm so the orphanage can grow much of their own food and become more self-sustaining. So, although this fifth step is optional, it’s the one that will make you feel the very best out of all of this. You can make your donations using Paypal (and I really encourage to take this final step. I promise you, you’ll feel better inside than you’ll ever feel from buying real film and processing).
(6) There is no six, but you do get extra credit if you: (a) pick one ISO at the very beginning and don’t change it for all 24/36 shots, and (b) if you don’t do any post-processing of the images in Photoshop or Lightroom. Just look at them, but don’t touch.
Remember: this is not a contest or a competition. There are no prizes. But every one that participates wins on some level because it will stretch you, and your creativity, and it will really make you think before you press that shutter button. Plus, I know many of you will send 10 or so bucks to help the kids, and that’s a big win any way you look at it.
I have put up a flickr group so you can post your images on Sunday (you’re supposed to do your shoot this weekend, but remember—-don’t look at your images for 24 hours. Not a peek!
I’m really interested to hear your experience with all this, and how you feel about shooting in a somewhat non-digital way with your digital camera. It makes you really appreciate what we have now in digital, doesn’t it.
Anyway, this is the first of my monthly challenges—-ones we’ll do together (I’m doing this one Saturday along with you. Don’t be expecting much, though. This is harder than you think). I’ve got a lot of fun ones coming up, and hopefully it’ll get a lot of photographers trying new things, and new techniques they’ve never done before, which I think is a really fun, creative thing.
Thanks for rising to the challenge. :-)
-Scott
I'm going to do it and I'll post up which print I choose.

25 May 2010

Is it ever really done?

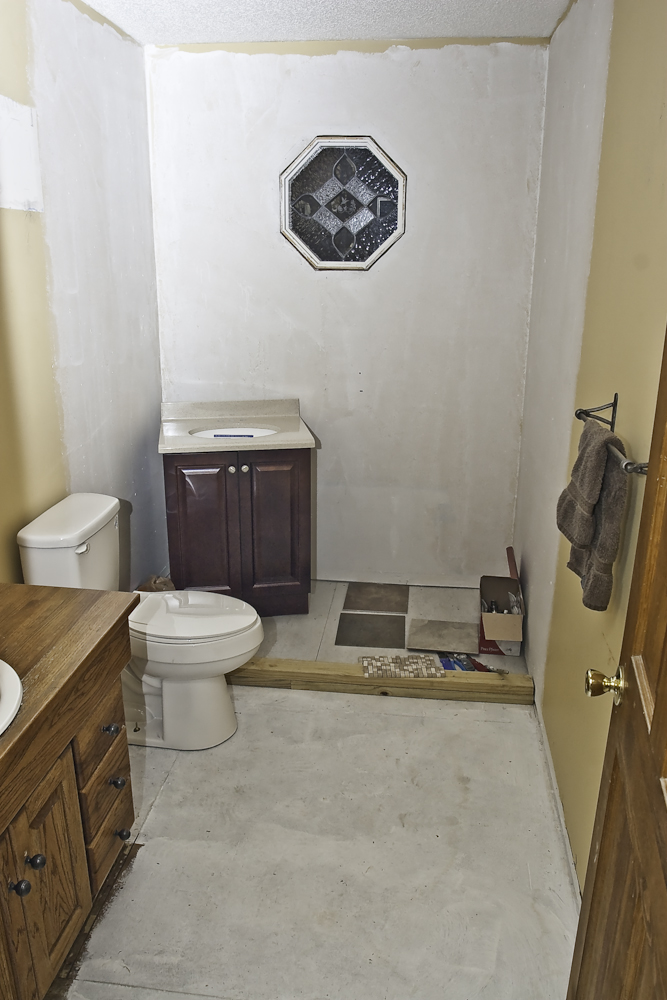
We started in February, about two years after our original planned start date, to remodel the kids' bathroom and create a shower.

After finding out the window we ordered (yes, two years ago) was too large for the rough opening - and I was completely unwilling to tear out an entire wall to make it fit - and ripping out the old clawfoot tub . . .


we started on the design phase.  That meant purchasing yet another window, a vanity, a toilet, tile, and all the behind-the-scenes materials to completely re-do this 68" wide room.

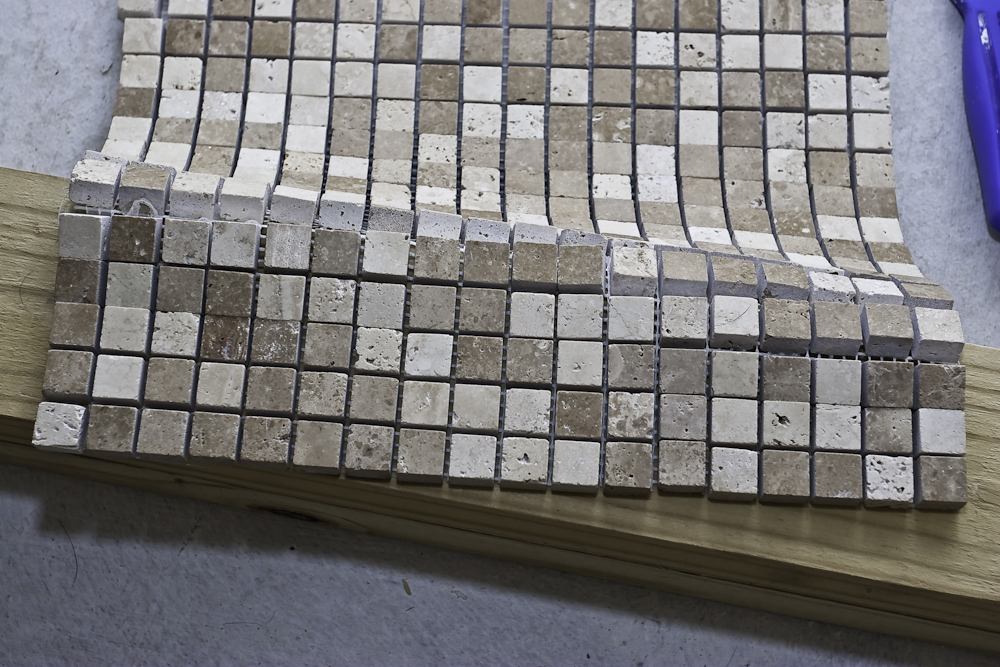
Actually, we bought two different vanities, two medicine cabinets (so far, and we aren't going to use either of them!), a host of different tile samples, and lost that hammer in the picture above - the hammer I had owned since 1989, btw - and ended up with the vanity pictured below, none of the 12" tile in the pic below, and a cool travertine mosaic shower floor . . .


That's when the fun really started . . .  just ask the boys.

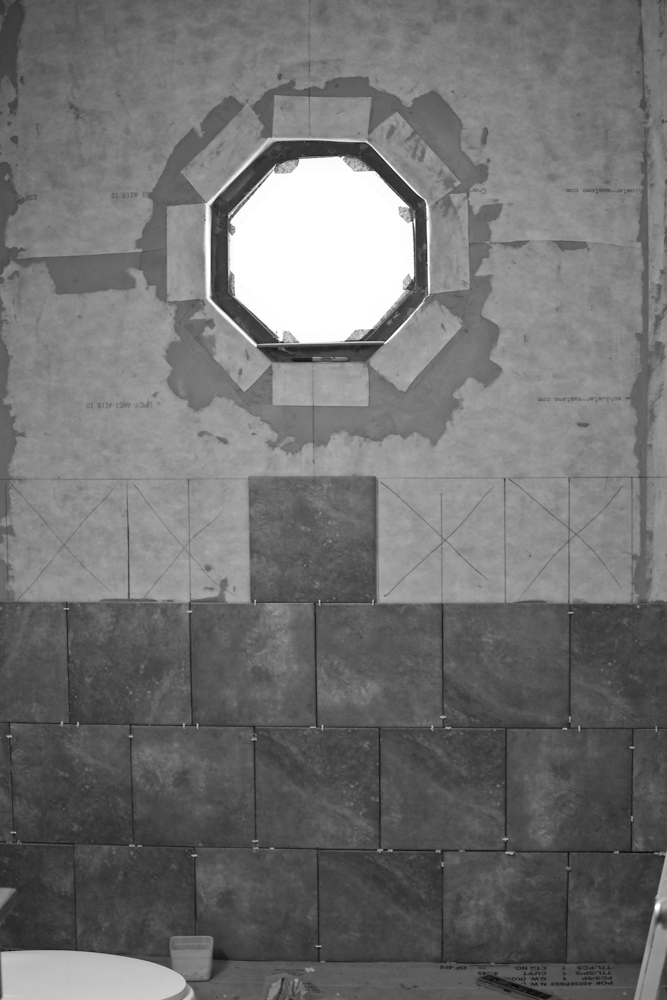
That membrane they are installing is what I call "heathered blaze orange" which is why this picture and all the pictures of the shower without tile are in B&W - it is one serious u-g-l-y color.

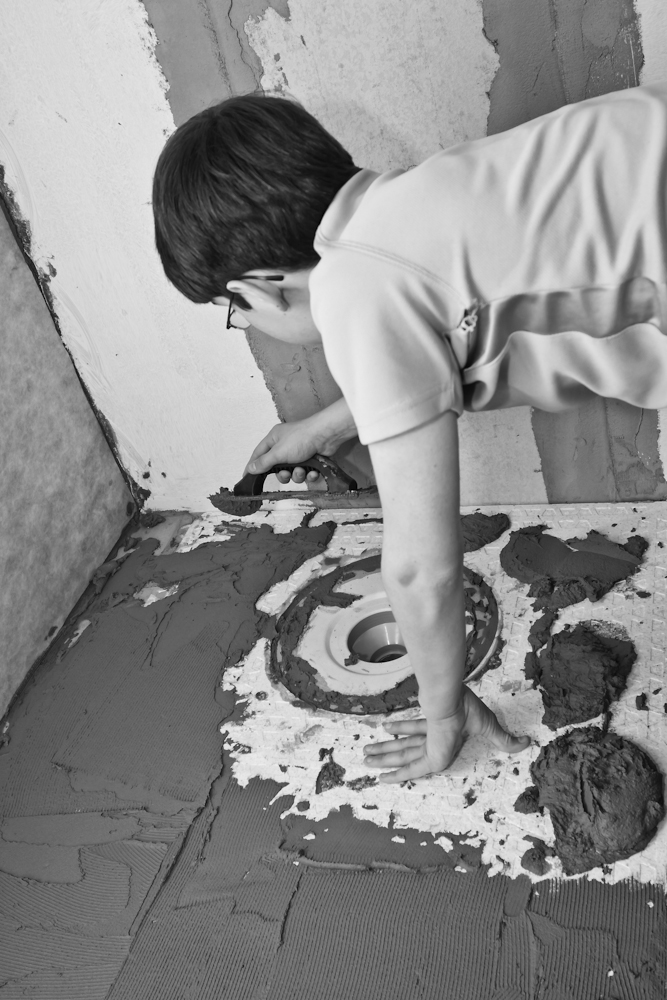
Both boys (and their sister) really got into this project, the oldest moreso than his brother.  The one on the left, Jonathon, designed the tile layout for the entire bathroom.  The one on the right, Hudson, was the gopher and grunt guy.  He mixed mortar, cleaned up mortar buckets, swept floors, and generally didn't get his hands into the project often enough to suit him, except for this one time


which is about when he decided he didn't mind being the mortar mixer and broom handler all that much.

Then we moved on to tile.


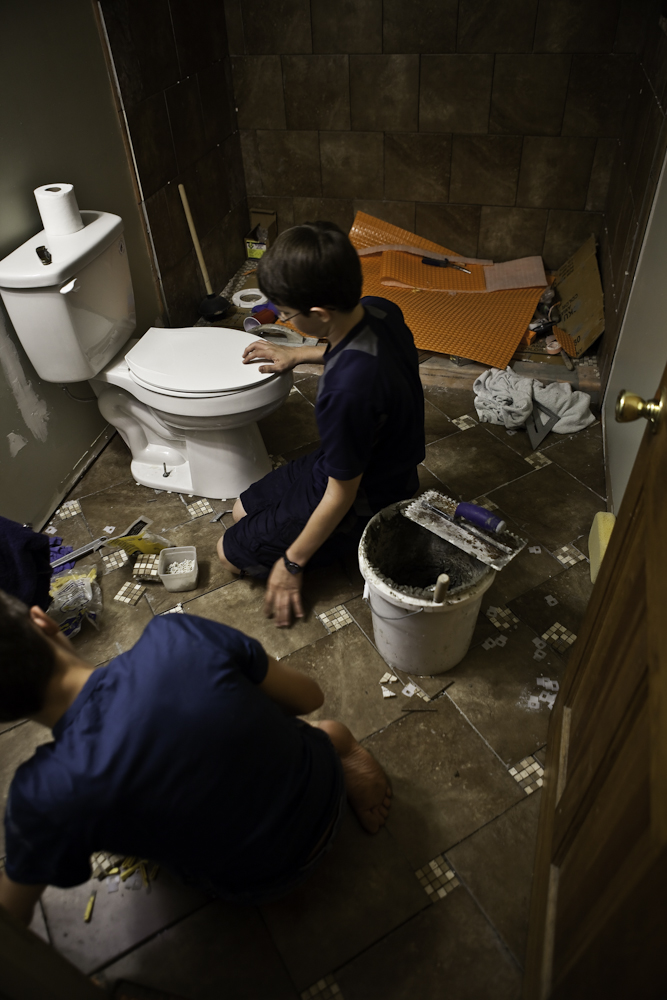
Which really started earlier than this picture, because there are nearly 4,000 pieces of travertine on the shower floor already, but it took half a Saturday to get to the point you see here because the critter pictured didn't clean out the grout joints the Tuesday prior when he installed the floor - or for the four days between then and the day this picture was taken. 

Let me tell you, nothing's more frustrating that dealing with out of square, out of plumb walls in what one would think is "modern construction" - the house was built in 1991 - but there's not a square wall in the place!  All three of these walls were a tile installer's nightmare.

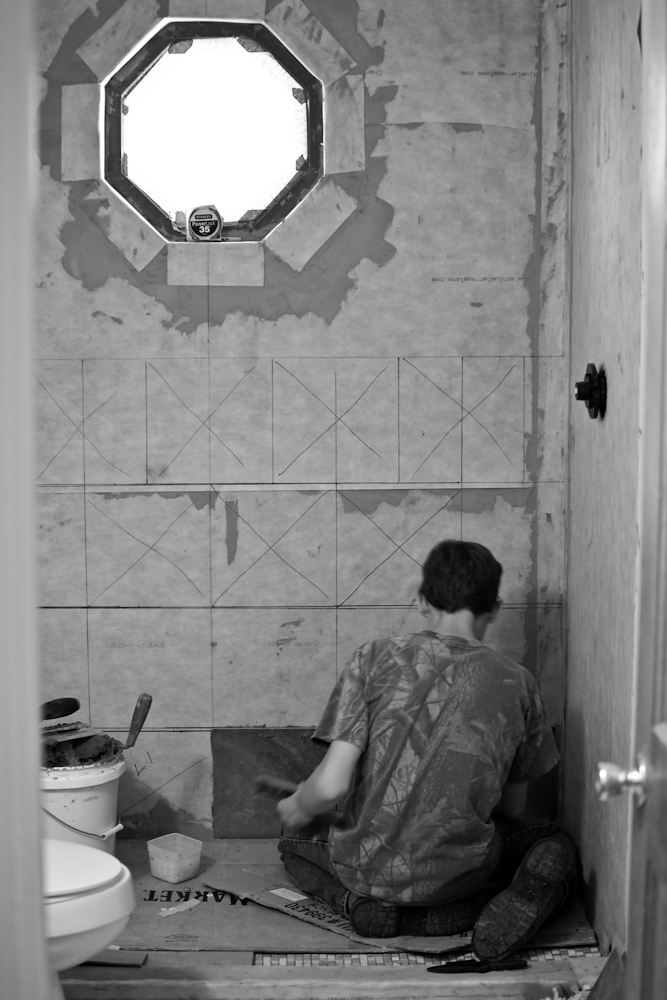
By the end of the first Saturday, we had this:


Which is pretty good considering we had all three walls laid out on a brick pattern (on paper, if not actually on the wall yet!), including centering on the window and the shower controls, finding relative level, and getting those three rows on the same plane - the biggest accomplishment of the job for certain.

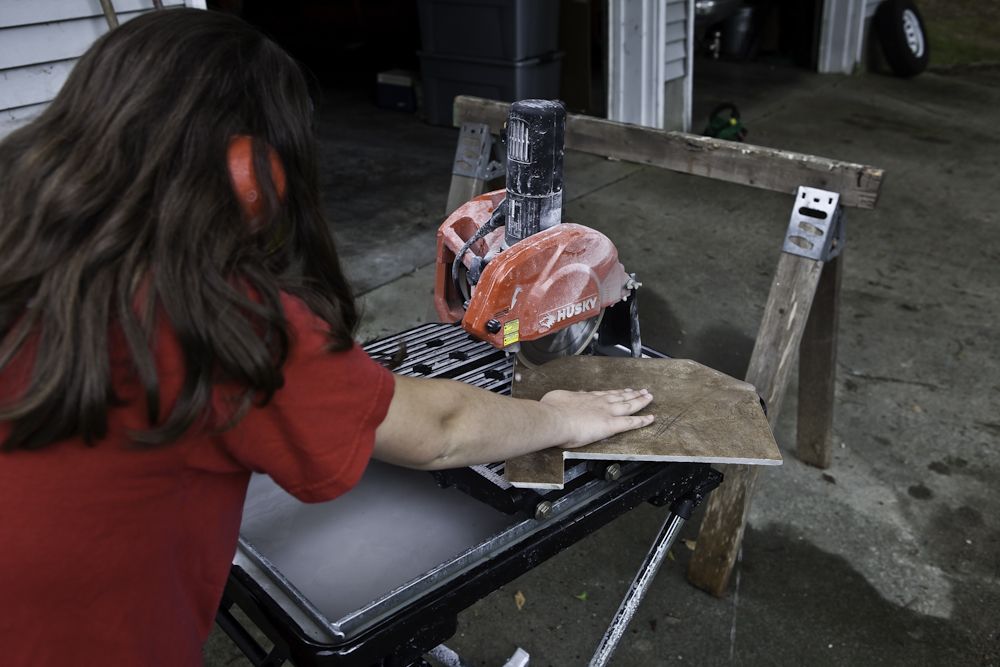
As I mentioned above all of the kids got involved in this project, from mixing mortar to cutting tile to laying tile to cleaning up after one another.

The chief mortar mixer quickly turned into an excellent tile saw operator and even taught his sister to properly operate the saw . . .


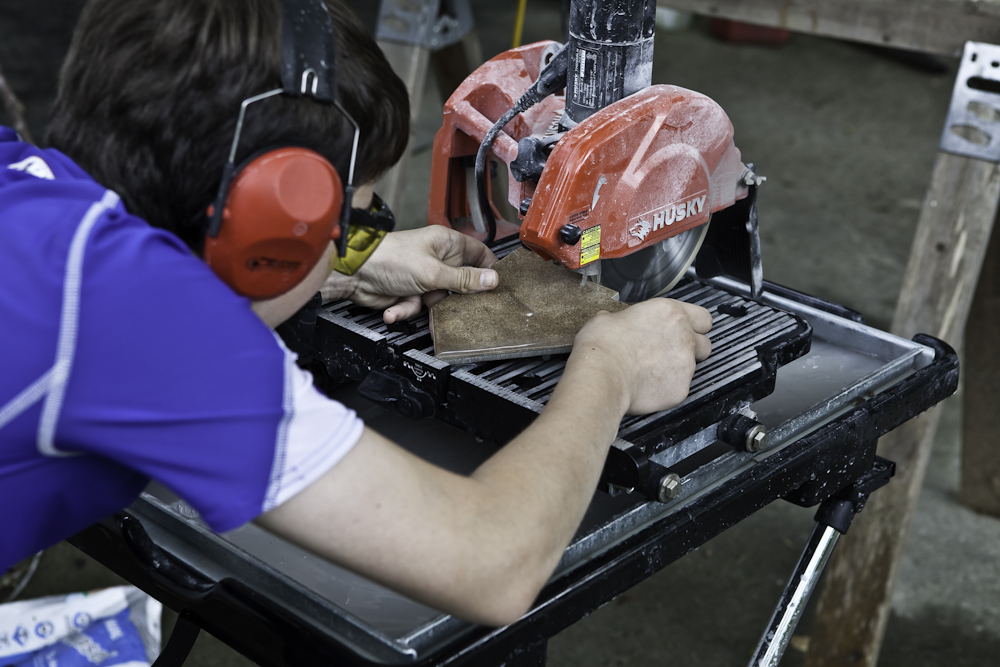
He even got to do all the intricate cuts himself:


He's really good with a tile saw and this project isn't his first.  He was running a tile saw three or so years ago when we had an emergency remodel on the master bath and during the kitchen tile job as well.

So, we're a few days from being finished with this project.  The vanity is set in place, the drain plumbing is too short -  as is the hot water supply line - but the HVAC vent is still hidden under the vanity and yours truly sealed the underside of the cabinet up to direct the airflow out the front toe kick instead of around the sides and into the not-to-be-conditioned spaces such as the cabinet itself.

All the while, we've been waiting on a replacement kitchen faucet (lifetime warranty, thanks Price-Pfister!!!) which has been leaking profusely and requiring copious amounts of my time and effort to keep from ruining the cabinets and the subfloor in that room!  That would be why there's a significant gap in the photojournalism between the above and the most current status:

The vanity sits about where that mess of detritus is this side of the toilet.  The curb is tiled, as is the bullnose down the left side of the shower, and the grout is complete and will be - Lord willing - sealed Friday.  Final plumbing (hopefully) this evening.  Sand and paint and caulk throughout the week.  Put up a shower curtain and install the fixtures and controls for the shower and replace the door trim and baseboards.

I hear the door is getting painted, too, so I seriously doubt it will be complete by this weekend, but it should be functional!

17 May 2010

Distraught

I haven't yet spoken with, or hugged my dear daughter, but I'm certain she is very distressed. 

Her dear cat, Lily, was hit & killed by a car this morning.


07 May 2010

While I'm Waiting . . .

. . . on some other pics to upload and finish processing a bunch more industrial shots, I figured I would post up a couple of fun night time clicks from my trip to the coast recently . . .


And one from the real job . . .


Still working on uploading the Smokin' 2010 pics and have quite a few more crane shots to edit for the walls of the new office down on the shipyard.

Subscribe to When I Grow Up