Is it ever really done?
We started in February, about two years after our original planned start date, to remodel the kids' bathroom and create a shower.
After finding out the window we ordered (yes, two years ago) was too large for the rough opening - and I was completely unwilling to tear out an entire wall to make it fit - and ripping out the old clawfoot tub . . .
we started on the design phase. That meant purchasing yet another window, a vanity, a toilet, tile, and all the behind-the-scenes materials to completely re-do this 68" wide room.
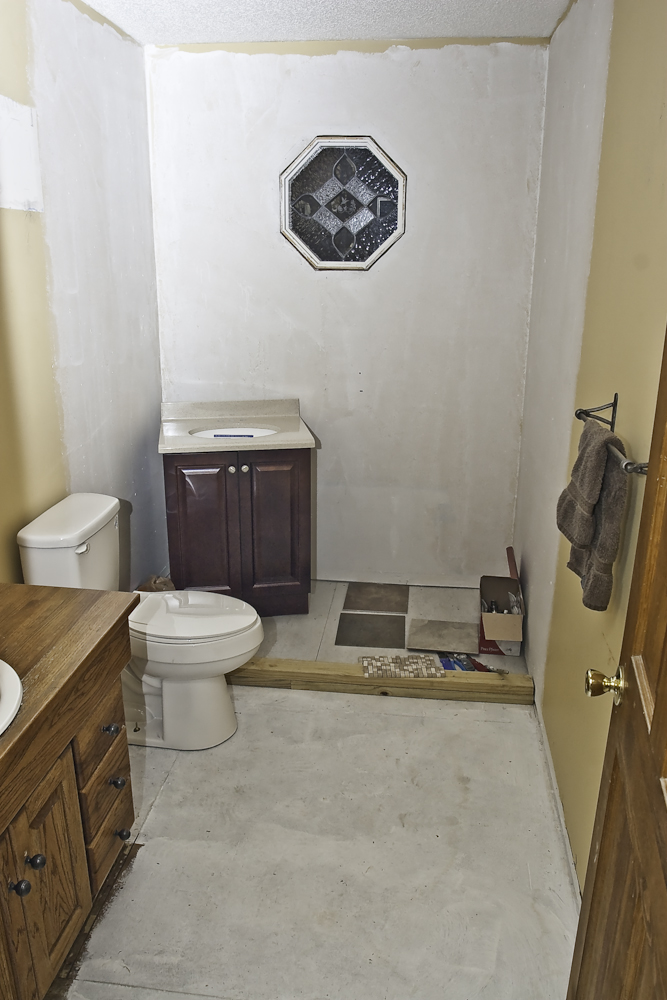
Actually, we bought two different vanities, two medicine cabinets (so far, and we aren't going to use either of them!), a host of different tile samples, and lost that hammer in the picture above - the hammer I had owned since 1989, btw - and ended up with the vanity pictured below, none of the 12" tile in the pic below, and a cool travertine mosaic shower floor . . .
That's when the fun really started . . . just ask the boys.
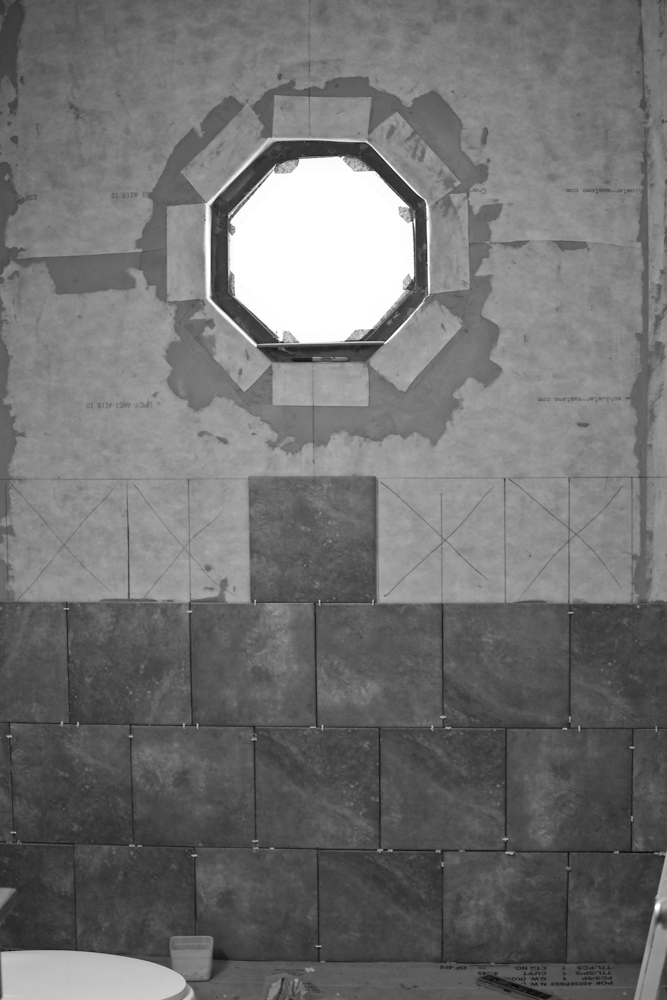
That membrane they are installing is what I call "heathered blaze orange" which is why this picture and all the pictures of the shower without tile are in B&W - it is one serious u-g-l-y color.
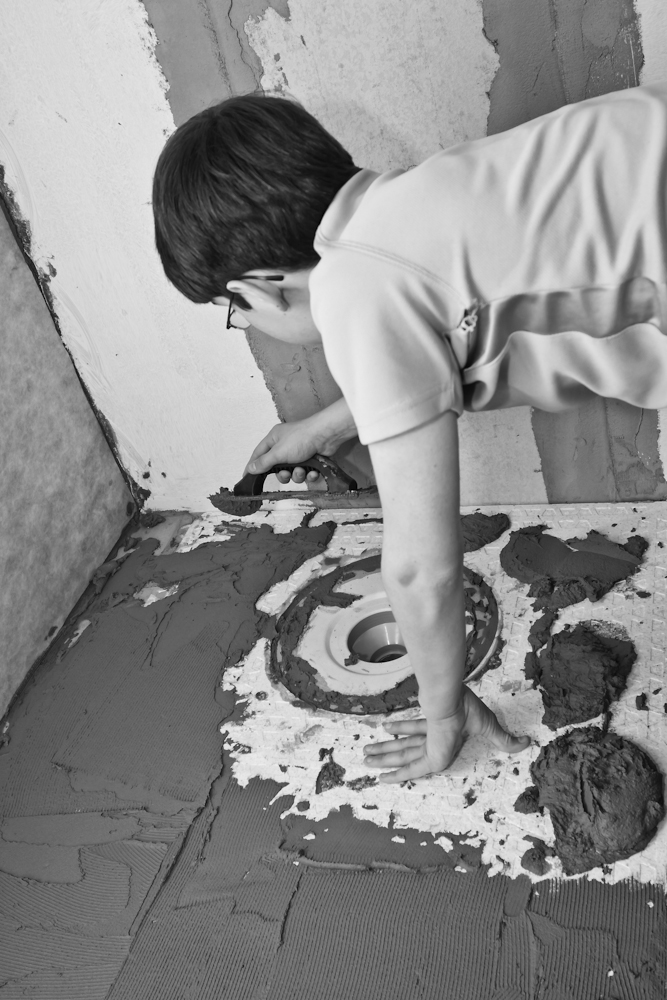
Both boys (and their sister) really got into this project, the oldest moreso than his brother. The one on the left, Jonathon, designed the tile layout for the entire bathroom. The one on the right, Hudson, was the gopher and grunt guy. He mixed mortar, cleaned up mortar buckets, swept floors, and generally didn't get his hands into the project often enough to suit him, except for this one time
which is about when he decided he didn't mind being the mortar mixer and broom handler all that much.
Then we moved on to tile.
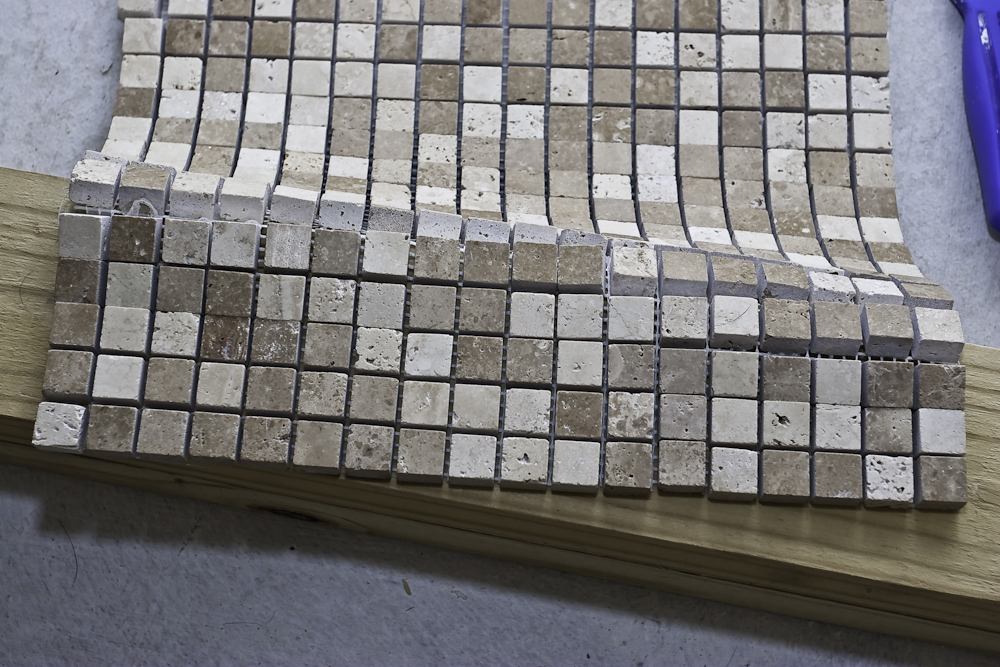
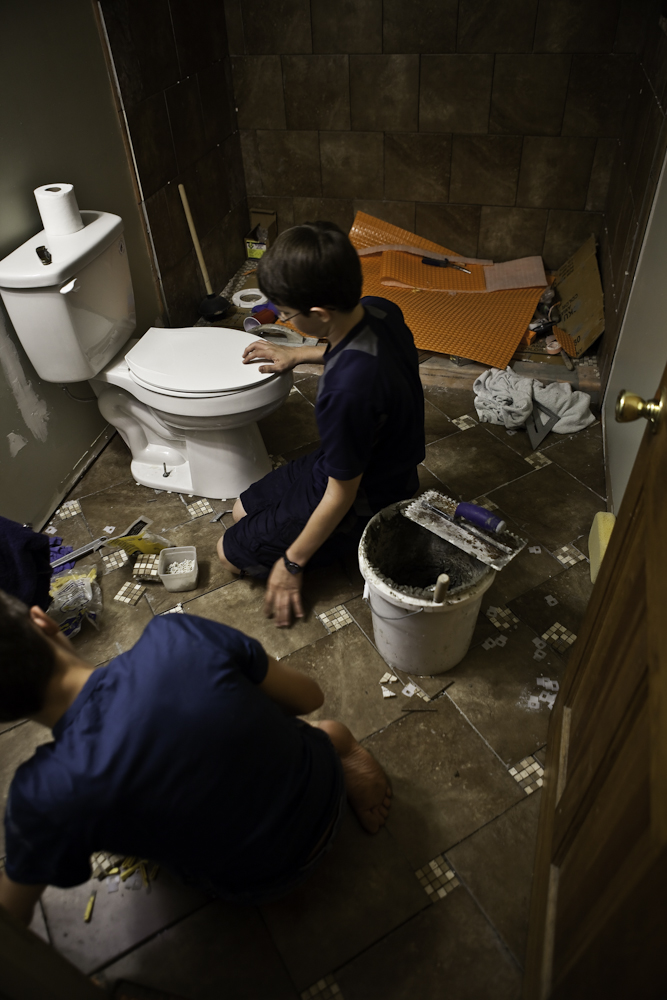
Which really started earlier than this picture, because there are nearly 4,000 pieces of travertine on the shower floor already, but it took half a Saturday to get to the point you see here because the critter pictured didn't clean out the grout joints the Tuesday prior when he installed the floor - or for the four days between then and the day this picture was taken.
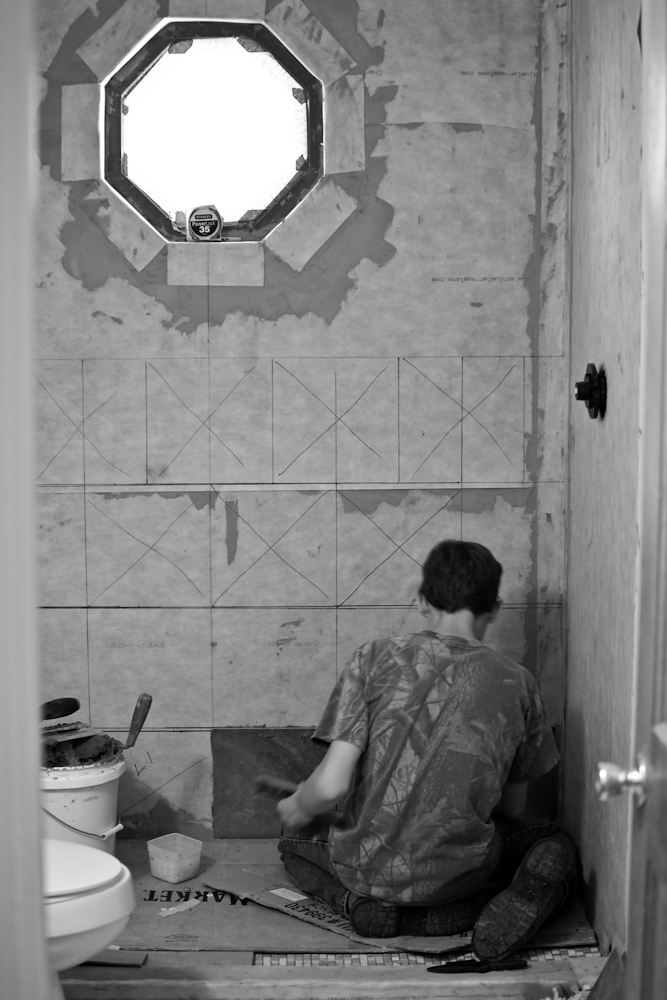
Let me tell you, nothing's more frustrating that dealing with out of square, out of plumb walls in what one would think is "modern construction" - the house was built in 1991 - but there's not a square wall in the place! All three of these walls were a tile installer's nightmare.
By the end of the first Saturday, we had this:
Which is pretty good considering we had all three walls laid out on a brick pattern (on paper, if not actually on the wall yet!), including centering on the window and the shower controls, finding relative level, and getting those three rows on the same plane - the biggest accomplishment of the job for certain.
As I mentioned above all of the kids got involved in this project, from mixing mortar to cutting tile to laying tile to cleaning up after one another.
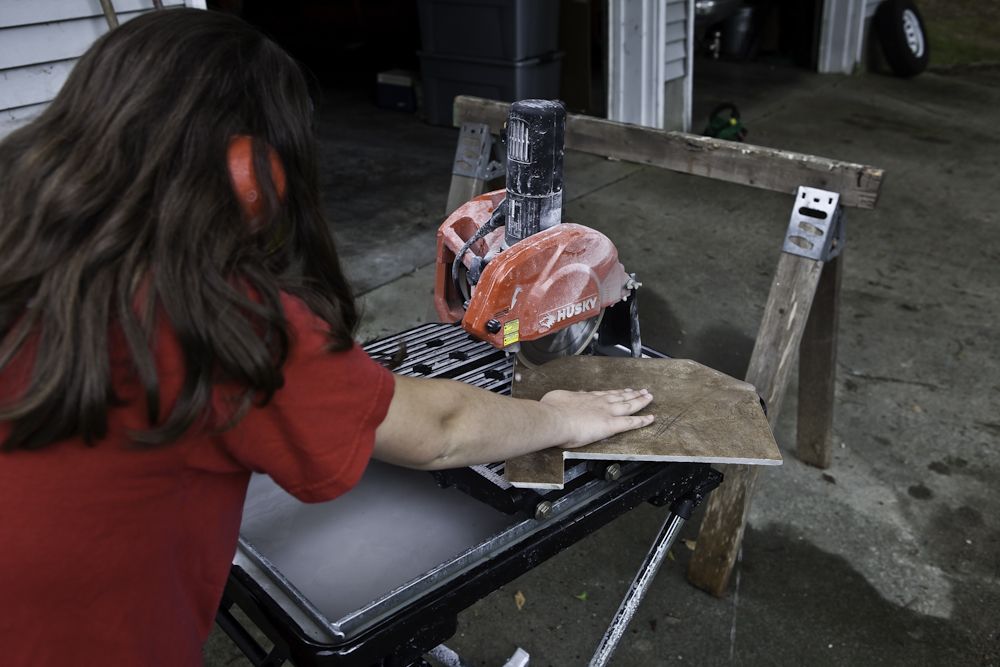
The chief mortar mixer quickly turned into an excellent tile saw operator and even taught his sister to properly operate the saw . . .
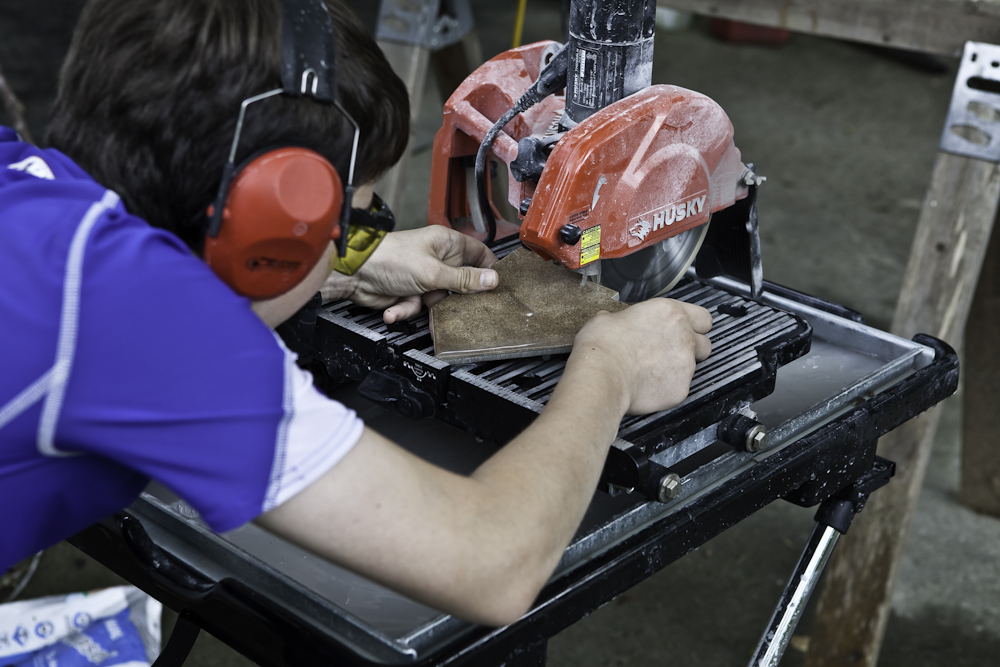
He even got to do all the intricate cuts himself:
He's really good with a tile saw and this project isn't his first. He was running a tile saw three or so years ago when we had an emergency remodel on the master bath and during the kitchen tile job as well.
So, we're a few days from being finished with this project. The vanity is set in place, the drain plumbing is too short - as is the hot water supply line - but the HVAC vent is still hidden under the vanity and yours truly sealed the underside of the cabinet up to direct the airflow out the front toe kick instead of around the sides and into the not-to-be-conditioned spaces such as the cabinet itself.
All the while, we've been waiting on a replacement kitchen faucet (lifetime warranty, thanks Price-Pfister!!!) which has been leaking profusely and requiring copious amounts of my time and effort to keep from ruining the cabinets and the subfloor in that room! That would be why there's a significant gap in the photojournalism between the above and the most current status:
The vanity sits about where that mess of detritus is this side of the toilet. The curb is tiled, as is the bullnose down the left side of the shower, and the grout is complete and will be - Lord willing - sealed Friday. Final plumbing (hopefully) this evening. Sand and paint and caulk throughout the week. Put up a shower curtain and install the fixtures and controls for the shower and replace the door trim and baseboards.
I hear the door is getting painted, too, so I seriously doubt it will be complete by this weekend, but it should be functional!


0 Comments:
Post a Comment
<< Home